Dermaplaning has become increasingly popular over the last year as people prioritised their wellbeing and health in the wake of the Covid-19 pandemic. Hailed for improving the complexion, brightening the skin, improving the appearance of acne scars and removing hair, dermaplaning has become a staple in many people’s skincare routines.
Discover all you need to know about dermaplaning as we talk about the technique of dermaplaning, how to dermaplane at home and the benefits of dermaplaning.
What is dermaplaning?
Dermaplaning is a cosmetic procedure in which the uppermost layers of the skin are manually exfoliated and removed with a special tool. It involves gently scraping away the top layers of the skin to reveal brighter and newer skin underneath.
Traditionally carried out by a professional in a salon, dermaplaning is used to improve the appearance of dull skin, acne-scarred skin and improve the skin’s texture. Dermaplaning is also sometimes used for hair removal purposes – ‘peach fuzz’ is removed alongside the uppermost layers of skin during this cosmetic procedure.
It’s important to note that scarred and textured skin – along with peach fuzz – is a completely normal part of being human. You should never feel pressured to commit to cosmetic procedures to improve these aspects of your skin, and we encourage everyone to embrace their natural skin – texture, hair and all.
If you do choose to dermaplane your skin, it’s important to know what you’re getting into. We discuss the benefits of dermaplaning, how to (carefully!) dermaplane at home and the correct aftercare for dermaplaning.
Benefits of dermaplaning
Many people swear by dermaplaning as a way to improve their skin’s appearance. Discover some of the benefits you could reap from dermaplaning your skin.
1. Reveals newer, rejuvenated skin
As dermaplaning removes the top layer of the skin – the epidermis – which has been exposed to toxins and free radicals in daily life, newer and undamaged skin is revealed underneath.
This can help the skin to appear healthier and brighter as the dull and damaged skin above has been gently removed with a specific dermaplaning blade. For this reason, some people find that dermaplaning also helps to reduce the appearance of hyperpigmentation and reveal a more even skin tone.
2. Helps skincare ingredients absorb into the skin
Removing the clogged, dead layer of skin on your face helps newer skin to breathe. As this newer skin hasn’t yet been polluted with toxins and free radicals from day to day life, skincare ingredients such as vitamin E and niacinamide can be better absorbed by the skin.
3. Suitable for sensitive skin
For people with very sensitive skin or those who react to dermabrasion and microdermabrasion, dermaplaning could be the comfortable alternative cosmetic procedure to reveal brighter and smoother skin.
When considering dermaplaning vs microdermabrasion, it’s important to think about whether your skin is sensitive or not. With microdermabrasion, a handheld device with tiny crystals is used to exfoliate dead skin cells, which is then vacuumed away. This can sometimes cause irritation for people with sensitive skin.
4. Removes peach fuzz and hair
Some people choose to remove the hair and peach fuzz on their face. If you are interested in removing your peach fuzz and any facial hair, dermaplaning is a great option to consider.
A specialist scalpel-like tool is scraped over the skin’s surface to remove the dead skin cells in the epidermis and with it, any peach fuzz and hair. This won’t last forever so isn’t a permanent solution, but it is a good method of removing peach fuzz while also improving the skin’s appearance.
5. Reduces the appearance of scars and fine lines
With dermaplaning, the outermost and damaged layer of skin is removed. This layer of skin is where most of the damage is, including acne scars and fine lines. Dermaplaning can help to minimise the appearance of these as the dead skin cells are removed.
How to dermaplane at home
First and foremost, dermaplaning is a cosmetic procedure that is offered professionally by those who have been trained to perform this treatment. This means that attempting to dermaplane your skin at home does have its risks – especially as it involves scraping a sharp tool across your skin. Proceed with absolute caution!
Many at-home dermaplaning tools have been introduced that are much less sharp than the scalpel-style tool for professional use. These look more like a facial razor. Choose one you feel comfortable using, and don’t rush the process!
1. Start with a clean, dry face
Make sure your skin is free from dirt and makeup by cleansing with a natural facial cleanser. A double cleanse using a water-based cleanser doesn’t hurt if you want to be sure you have removed everything from your skin. Unlike shaving your face, the skin needs to be completely dry before dermaplaning for the best results. After cleansing, gently pat the skin dry, making sure not to rub your face and irritate it.
2. Pull the skin taut
Start with one side of the face and pull the skin taut with your non-dominant hand. Use the dermaplaning tool at a 45 degree angle and gently move the tool in downwards motions. Stick with small strokes to best avoid nicking your skin.
Repeat this with each area of the skin, paying close attention not to cut the skin or damage it. Wipe off the dead skin cells and debris from the tool that are removed as you go to ensure the best possible results.
3. Don’t go over areas a second time
As with shaving, it is important not to go over the same area of skin more than once, as this can cause irritation and redness. If you’re looking for brighter and healthier skin by dermaplaning, going over areas more than once is not the way to achieve this. You’ll be more susceptible to damaging your skin and may not achieve the benefits of dermaplaning you were hoping for.
Dermaplaning aftercare
Aftercare is very important when it comes to dermaplaning – why let the benefits go to waste?
Once you have dermaplaned your skin at home or had it professionally done at a salon, it is important to follow a simple skincare routine using natural products that are full of skin-loving ingredients. The easiest routine afterwards includes:
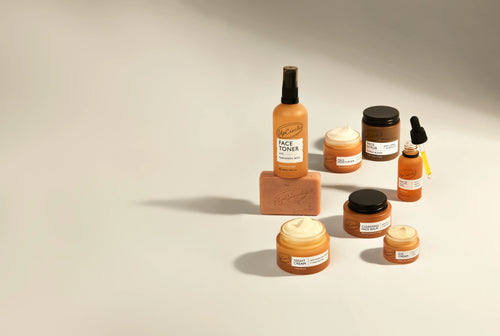
- Cleanse your skin with our Cleansing Face Balm with Apricot Powder which is rich in vitamin E, to remove any debris.
- Double cleanse using a gentle cleanser with our Cleansing Face Milk with Oat Powder + Aloe Vera to hydrate and nourish the skin
- Use a natural toner such as our Face Toner with Hyaluronic Acid to soothe and plump the skin.
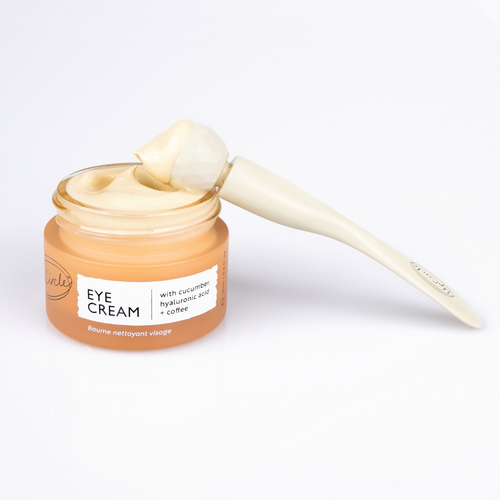
- Dab some Eye Cream with Hyaluronic Acid and Coffee underneath your eyes and let the cream soak in.
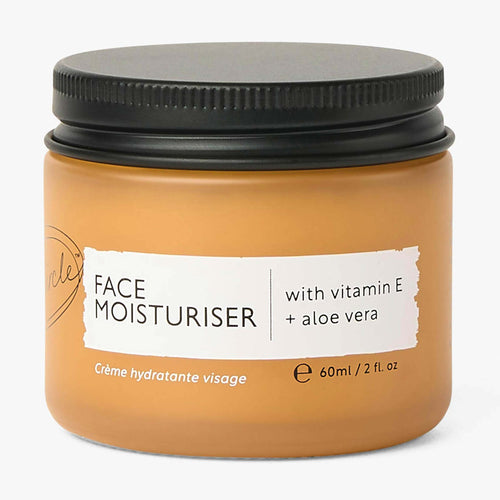
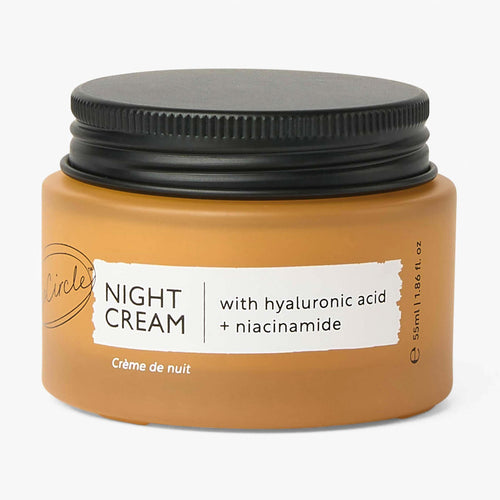
- Apply some moisturiser, either our Face Moisturiser with Vitamin E in the daytime or our Night Cream with Hyaluronic Acid and Niacinamide before bed.
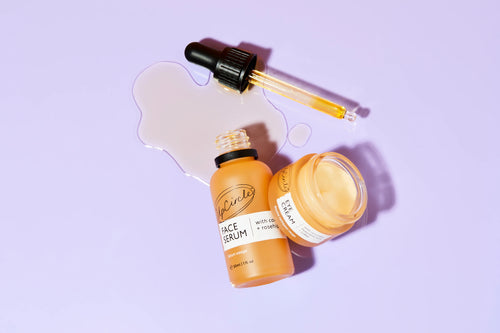
- Add a few drops of our Organic Face Serum with Coffee Oil onto the skin using your fingertips.
- If it's daytime, don’t forget your SPF!

